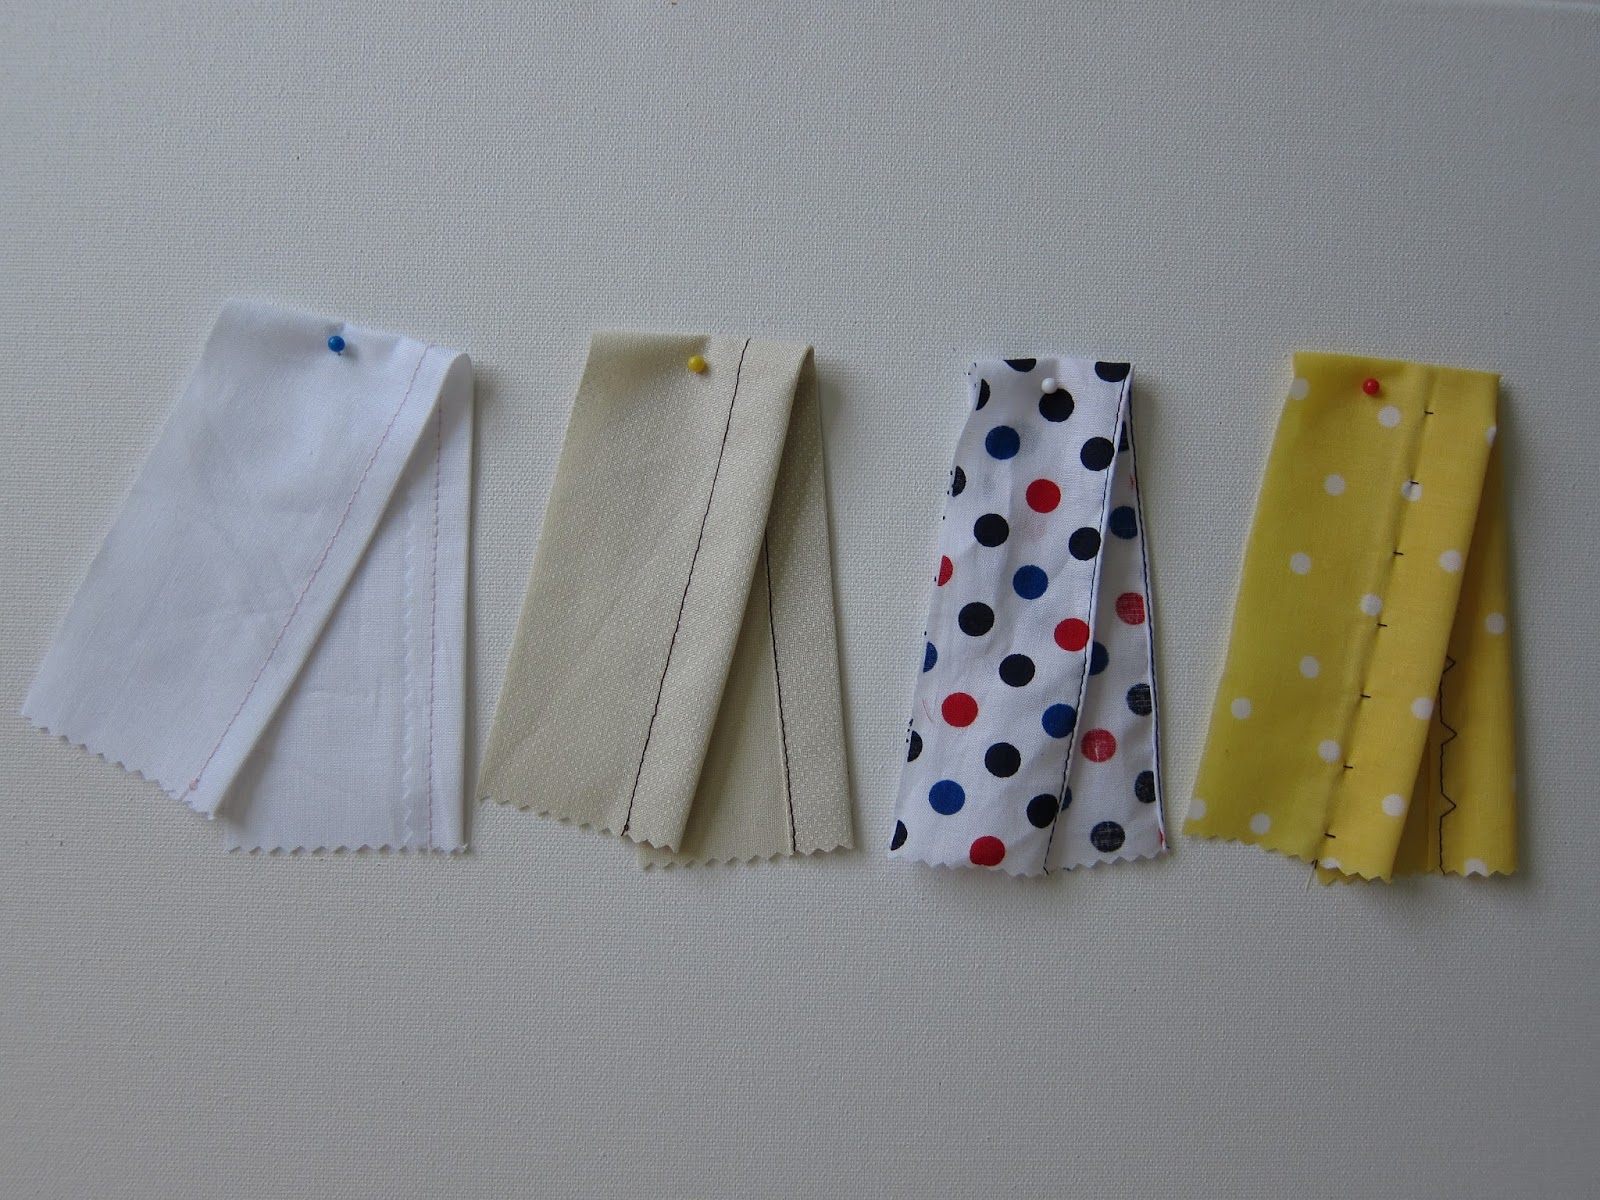
| left to right All purpose foot-Narrow Rolled Hemmer foot-Blind Hem foot |
Thursday, May 19, 2016
Monday, May 16, 2016
Exploring Free Hand Machine Embroidery
Mug Rug
I enjoyed my first attempts at free hand machine embroidery so much that last week I purchased Simply Stitched Gifts by Cynthia Shaffer from my local Barnes and Noble. The book retails for $17.95. It contains 21 projects to make and a chapter on free-motion basics that covers needles, presser feet, fabric, stiffeners and adhesives, thread and also provides a practice free motion stitching guide sheet. Also in the basics chapter Cynthia explains the differences of free-motion stitching, embroidery and quilting. Free motion stitching is stitching freely with the feed dogs lowered, free motion machine embroidery means you are creating solid areas of stitching and in free motion quilting there is batting under the top fabric. The main difference between my first attempts at free hand machine embroidery and Cynthia's way of working is that were I used an embroidery hoop to hold the fabric, Cynthia uses quilting gloves to grip the fabric.
From the 21 projects in the book I chose to make the modern mug rug. I followed the 37 steps without a problem and am pleased with my finished rug (pictured above).
If like me you are new to free hand machine embroidery this is a good guide book with many contemporary projects to try.
Monday, May 9, 2016
The Ottoman
I made the Apple Pie Ottoman from 'Sew What You Love' by T. Whelan. I purchased this book about a month ago, thinking I would make the bag projects but instead I have made the ottoman. The instructions for this project are well written. It's a super easy project to make. Best of all its comfortable to use as a floor cushion.
The book has about 30 projects, divided into four categories- handmade handbags ( 5 projects), sewing for little ones (this is the largest section in the book, it includes projects for soft toys, skirts and blouses for girls aged 1- 14), home style (6 projects including the ottoman, pincushions, storage boxes and a quilt), and personal style (8 projects for skirts, dresses and a tie). The book has something for everyone. Lovely photos, illustrations to explain each step, spiral binding and full size templates tucked into a back pocket. The projects range from beginner to intermediate level. 'Sew What You Love' retails for $24.99.
Overall I am happy with my purchase and my new ottoman.
The book has about 30 projects, divided into four categories- handmade handbags ( 5 projects), sewing for little ones (this is the largest section in the book, it includes projects for soft toys, skirts and blouses for girls aged 1- 14), home style (6 projects including the ottoman, pincushions, storage boxes and a quilt), and personal style (8 projects for skirts, dresses and a tie). The book has something for everyone. Lovely photos, illustrations to explain each step, spiral binding and full size templates tucked into a back pocket. The projects range from beginner to intermediate level. 'Sew What You Love' retails for $24.99.
Overall I am happy with my purchase and my new ottoman.
Thursday, April 28, 2016
Freehand Machine Embroidery
When you lower the feed dogs on your sewing machine you have the freedom to move the fabric in any direction you wish (left, right, forward and backwards). This is freehand machine embroidery. I spent a little time today playing with this technique.
You need a darning foot, a embroidery hoop, to hold the fabric taut, thread and of course fabric to start.
To lower the feed dogs refer to your machine manual, on some machines you need to cover the feed dogs instead of lowering. I practiced on scrap fabric using a straight and zigzag stitch until I ran out of bobbin thread. I began with a small 5'' hoop but this was not big enough.On the red sample below I used a 12'' hoop this is a good size for my machine.The fabric is mounted on the hoop the opposite way to normal.
The stitch length is determined by how fast you move the hoop. If you move the hoop slowly the stitches are short, quickly and the stitches are very long.
It's fun and easy to freehand machine embroider, try it.
You need a darning foot, a embroidery hoop, to hold the fabric taut, thread and of course fabric to start.
To lower the feed dogs refer to your machine manual, on some machines you need to cover the feed dogs instead of lowering. I practiced on scrap fabric using a straight and zigzag stitch until I ran out of bobbin thread. I began with a small 5'' hoop but this was not big enough.On the red sample below I used a 12'' hoop this is a good size for my machine.The fabric is mounted on the hoop the opposite way to normal.
The stitch length is determined by how fast you move the hoop. If you move the hoop slowly the stitches are short, quickly and the stitches are very long.
It's fun and easy to freehand machine embroider, try it.
Wednesday, April 20, 2016
Quilted Slippers
Last week I made flannel pyjamas using Butterick pattern B5517, from the left over fabric I made the quilted slippers pictured above. I followed the project instructions from Simply Sewing - issue 14. It was quick, easy and fun project to make. I am wearing the slippers as I type this post.
happy sewing
happy sewing
Wednesday, April 13, 2016
A Pintucked Cushion
I stitched a new cushion cover today. I teamed up a piece of home furnishing fabric, left over from another project, with a light weight denim. To add interest I pin tucked the denim fabric. Pintucks are slender pleats that sit on the fabrics surface. Most often used in clothing, (my daughter has a lovely summer dress with three rows of pintucks near the hemline), they can also be used in home furnishing projects to create interesting effects.
Tucks will reduce the fabric, therefore you should begin with a larger piece of fabric, once tucked the fabric becomes stretchy.
To Pintuck-I began with a 12 x 20 inch piece of fabric. Using tailors chalk, I marked horizontal lines, 1 inch apart, on the right side of the fabric. Next, fold on the marked line, with wrong sides together. Stitch on the right side of the fabric, no more than 1/4 inch from the folded edge. Repeat with the next line. My finished piece measures 12 x 14in.
Experiment using pintucks to add interest to your next project.
Tucks will reduce the fabric, therefore you should begin with a larger piece of fabric, once tucked the fabric becomes stretchy.
To Pintuck-I began with a 12 x 20 inch piece of fabric. Using tailors chalk, I marked horizontal lines, 1 inch apart, on the right side of the fabric. Next, fold on the marked line, with wrong sides together. Stitch on the right side of the fabric, no more than 1/4 inch from the folded edge. Repeat with the next line. My finished piece measures 12 x 14in.
Experiment using pintucks to add interest to your next project.
Tuesday, April 5, 2016
The Raw Edge
The seam allowance is the excess fabric between the stitched line and the raw edge on the wrong side of a project. Unless finished the raw edge will fray during washing. Two quick and easy ways to finish the raw edge on woven fabrics like quilting cotton are listed below.
Pinked- Using your pinking shears cut along the raw edge of the seam allowance. The hills and valleys stop the fabric from fraying.
If you don't own a pair of pinking shears another method is to use the zigzag stitch.
Zig-Zag- Set your machine to the following stitch zigzag, length 3 and width 4. Stitch close to the raw edge.
In my example I used my overcasting foot. I like using this presser foot because I can line up my fabric with the black tab on the right. This allows me to keep my stitching straight. The zigzag stitch falls right on the raw edge picking up the bottom thread to from an overlock stitch, kind of like wrapping the raw edge with thread.
Pinked- Using your pinking shears cut along the raw edge of the seam allowance. The hills and valleys stop the fabric from fraying.
If you don't own a pair of pinking shears another method is to use the zigzag stitch.
Zig-Zag- Set your machine to the following stitch zigzag, length 3 and width 4. Stitch close to the raw edge.
In my example I used my overcasting foot. I like using this presser foot because I can line up my fabric with the black tab on the right. This allows me to keep my stitching straight. The zigzag stitch falls right on the raw edge picking up the bottom thread to from an overlock stitch, kind of like wrapping the raw edge with thread.
Subscribe to:
Posts (Atom)
Breaking the Pattern- Review
I was excited to see a new sewing book at my local library last week. Without much thought I checked it out. The book is 'Breaking ...
-
I set myself the goal of learning to sew my own clothes in 2017. There are 4 me made dresses and skirts hanging in my closet. Yes, if you lo...
-
I was excited to see a new sewing book at my local library last week. Without much thought I checked it out. The book is 'Breaking ...
-
I love this fabric is it 100% cotton chambray. I original made it into a gathered skirt for my daughter but after a year of it sitting at...
