Showing posts with label sewing technique. Show all posts

Thursday, October 19, 2017

How to Tuck

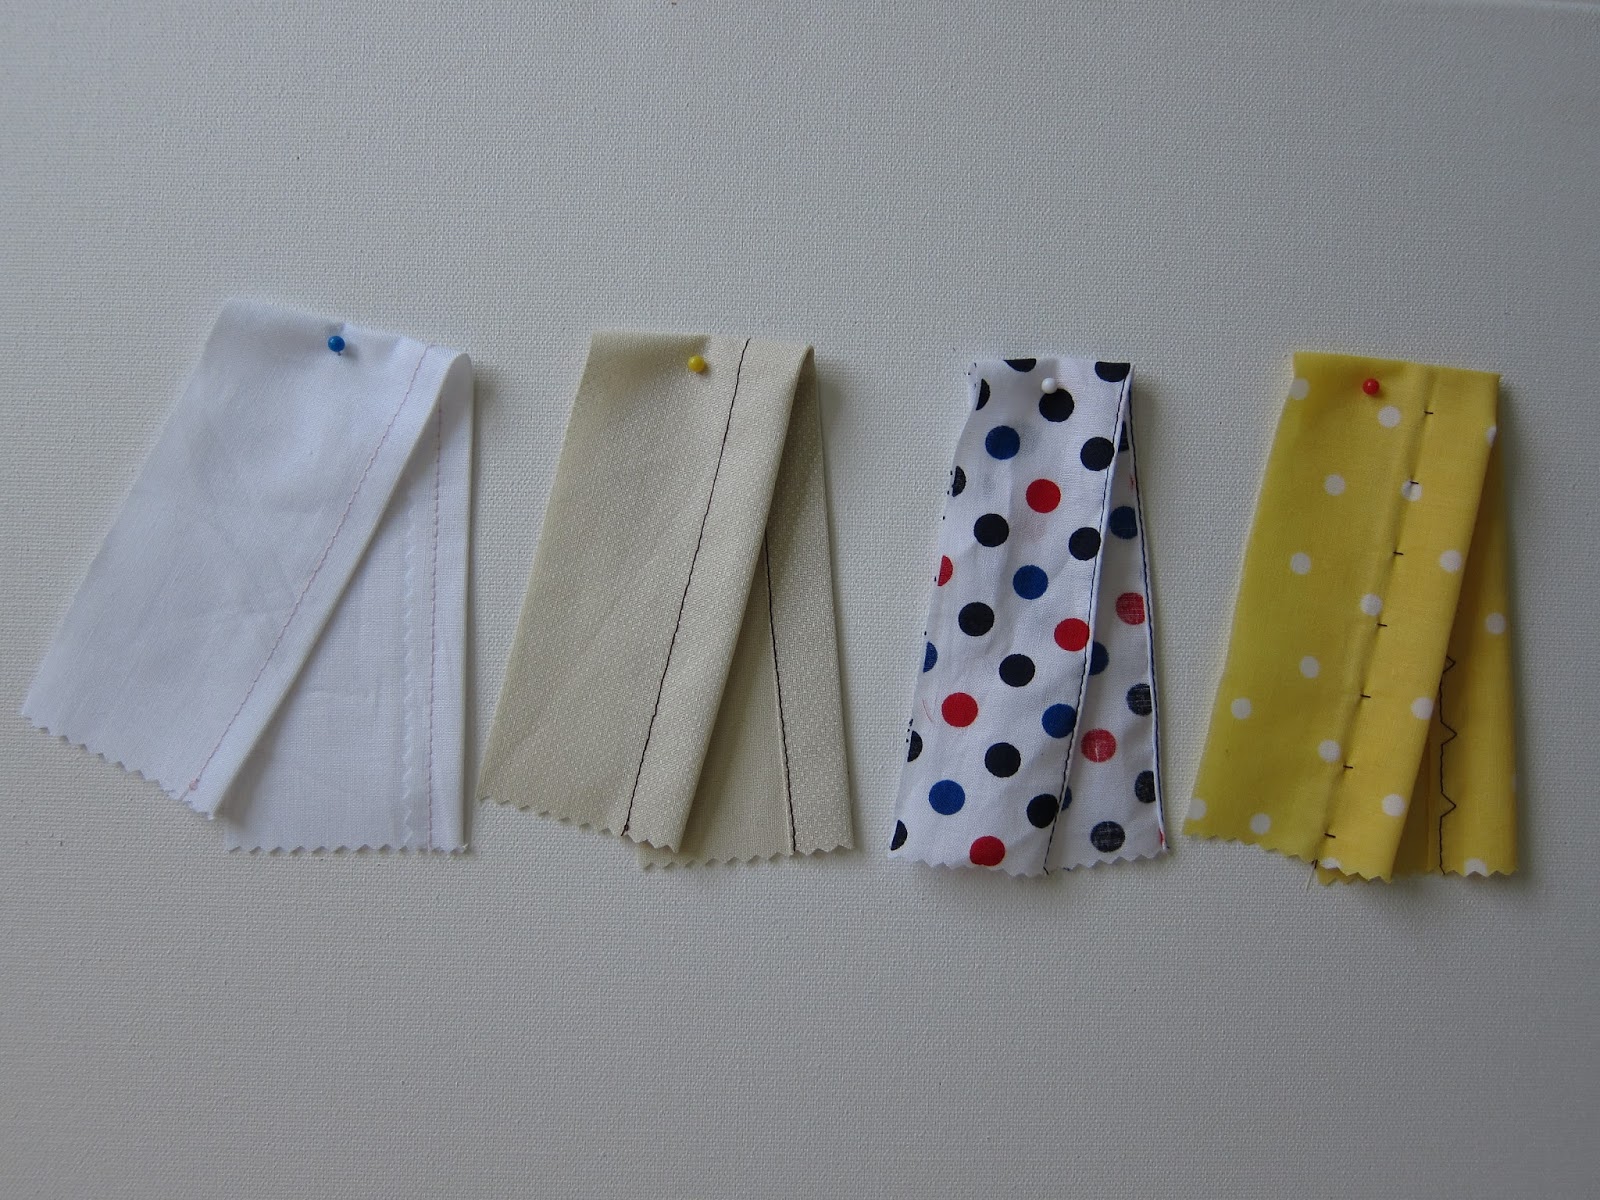
A tuck is a fold in the fabric that is intentionally stitched in place. It sits on the fabric's surface and can be sewn vertically and horizontally. Each tuck reduces the fabric size by its width.  A tuck can be functional, removing excess fabric or purely decorative adding visual interest to plain fabric. They can be placed close together without any spacing, with spacing, in groups or randomly stitched.
When estimating how much fabric you need add the width of a tuck plus the space between each tuck this will tell you how much fabric each tuck needs. Hide any joins of fabric within a tuck.
 
Three Basic Tucks

Spaced Single Tucks

 
Single tuck- Sewn with a straight seam that runs parallel to the fold. It can sit flat or centred over the seam. From the wrong side the tuck looks like an ordinary seam.
Double Tuck

Double tuck- Has two seams that run parallel  to the fold. The second seam forms a narrower tick within the wider first tuck. The double tucks are centred with the second tuck sitting on top of the first tuck.

Grouped Pintucks
Pintucks- similar to a single tuck but very narrow. For quick  and easy pintucks a pintuck foot and twin needle are useful but not essential. A pintuck foot has narrow grooves on the underside. These grooves help sew rows of evenly spaced pintucks. A pintuck foot works best with light weight fabrics.

How to Tuck using an All Purpose Foot and Single Needle
1. Decide on the width of each tuck.
2. Mark a fold line on right side of fabric, on either side of the fold line mark the stitch line. The distance away from the fold line in which the  stitch lines are placed equal the width of the tuck.
3. Pinch the fabric at the fold line with wrong sides together. Follow the stitch line to sew the tuck.

Pintuck Foot and Twin Needle

How to Tuck using a Pintuck Foot and Twin Needle
1. Attach foot and switch to a twin needle. Increase tension to 7 and set stitch length to 2.
2. Thread the machine with two spools. One spool going clockwise the other counter clockwise. Use the same thread for the bobbin.
3. Mark the first tuck on the right side of the fabric.
4. Sew following the marked line to from the first pintuck.
5. Place the first pintuck so it nests in a groove to the left or right of the centre. The further way from the centre the first tuck is  the wider the space between tucks. Sew the second tuck. Repeat as desired.

Friday, September 8, 2017

How to Machine Sew a Button


Buttons used as a closure on clothing for 5000 years are  available in many different styles and colours. However all buttons fall into two groups. Flat buttons with holes and shank buttons.

The shank is a small loop on the underside of a button. It creates space between the fabric and button. This allows the top fabric to sit smoothly when buttoned. Shank buttons are ideal for heavier fabrics. A shank button cannot be machine sewn by the home sewist.
The flat button with two or four holes lies flat against the fabric and can be machine sewn. You can create a shank with thread if needed.

A buttonhole foot and a button foot


To Machine Sew a Button

1. Drop or cover feed dogs, Set stitch length to "0" and stitch to zigzag.


to create a shank position needle between holes
without shank
2. Attach button foot. Place fabric and button under foot with holes aligned horizontally. Turn the hand wheel towards you. Checking that the needle is positioned to go through both holes. Adjust stitch width if necessary.
3. Sew 6 to 10 zigzag stitches. Switch to a straight stitch and sew a 3 to 4 more stitches to secure button. Remove from machine and pass threads to wrong side.
That's it, one neatly sewn button.


Monday, August 14, 2017

Black and White Tunic

front view
 Pattern -K1668 by Simplicity. This pattern has a complete wardrobe to make, it includes a dress, tunic, shorts, pants and a jacket. I made the tunic-option B, in a size small. The front features gathers at the shoulders and neckline. The  pattern is well designed, but the instructions confused me a little and I found myself stitching and unstitching.   However if you transfer all pattern markings especially around the neckline it will come together nicely in the end.

Fabric- The fabric is from Joann, a light cotton shirting.

Hems- I used my rolled hem foot to finish the hem.


back view


Friday, March 24, 2017

How to Make Piping

Piping is a decorative trim stitched into a seam. Often seen on a cushion edge, it adds sophistication and strengths the seams. Ready made piping choices are limited, making your own gives you the freedom to choose your own colours and patterns.
To make your own piping you will need the following items- cotton cord, fabric and a zipper foot.

Step 1. Measure the cords circumference and add 3 cm (1 1/4 inch) for seam allowances.  This is the width of you fabric strips. ( The length is determined by the project. On how to join fabric strips see below)
Step 2. Find the bias of your fabric and cut fabric strips using the width measurement from step one.
Step 3. Wrap the wrong side of the fabric strip around the cord, align the raw edges.
Step 4. Using a zipper foot and a long stitch length, sew close to the cord.
I have positioned my needle to the far left, to get close to the cord.
piping is now ready.

To Join fabric Strips 
Place fabric right sides together at a 90 degree angle. Pin and stitch diagonally from lower left corner to upper right corner. Trim seam allowance to .5cm (1/4in). Press seam open.
 

Thursday, March 2, 2017

The Cording Foot and Couching

This week I have been experimenting with the cording foot to embellish plain fabric. The cording foot  has 3 grooves that are covered with a metal clip, this forms channels in which you can feed cord or embroidery thread through. It is an easy foot to use.
I used a zigzag stitch to stitch cord onto the fabric surface. This technique is called couching.
 
In this sample I have used pink metallic thread and cord on linen fabric. the length of my zig zag stitch is 2 and the width 5. (Left to right- a simple straight row, a wave, exposing cord by stop and start stitching, form loops in a simple straight row by pulling cord)
 
following a drawn pattern


on denim fabric using neon embroidery thread, stitched with all purpose white thread.

the Singer Cording foot


Friday, January 20, 2017

How to tranfer an image using a water soluble stabilizer in free motion machine embroidery

 
Transfer the design
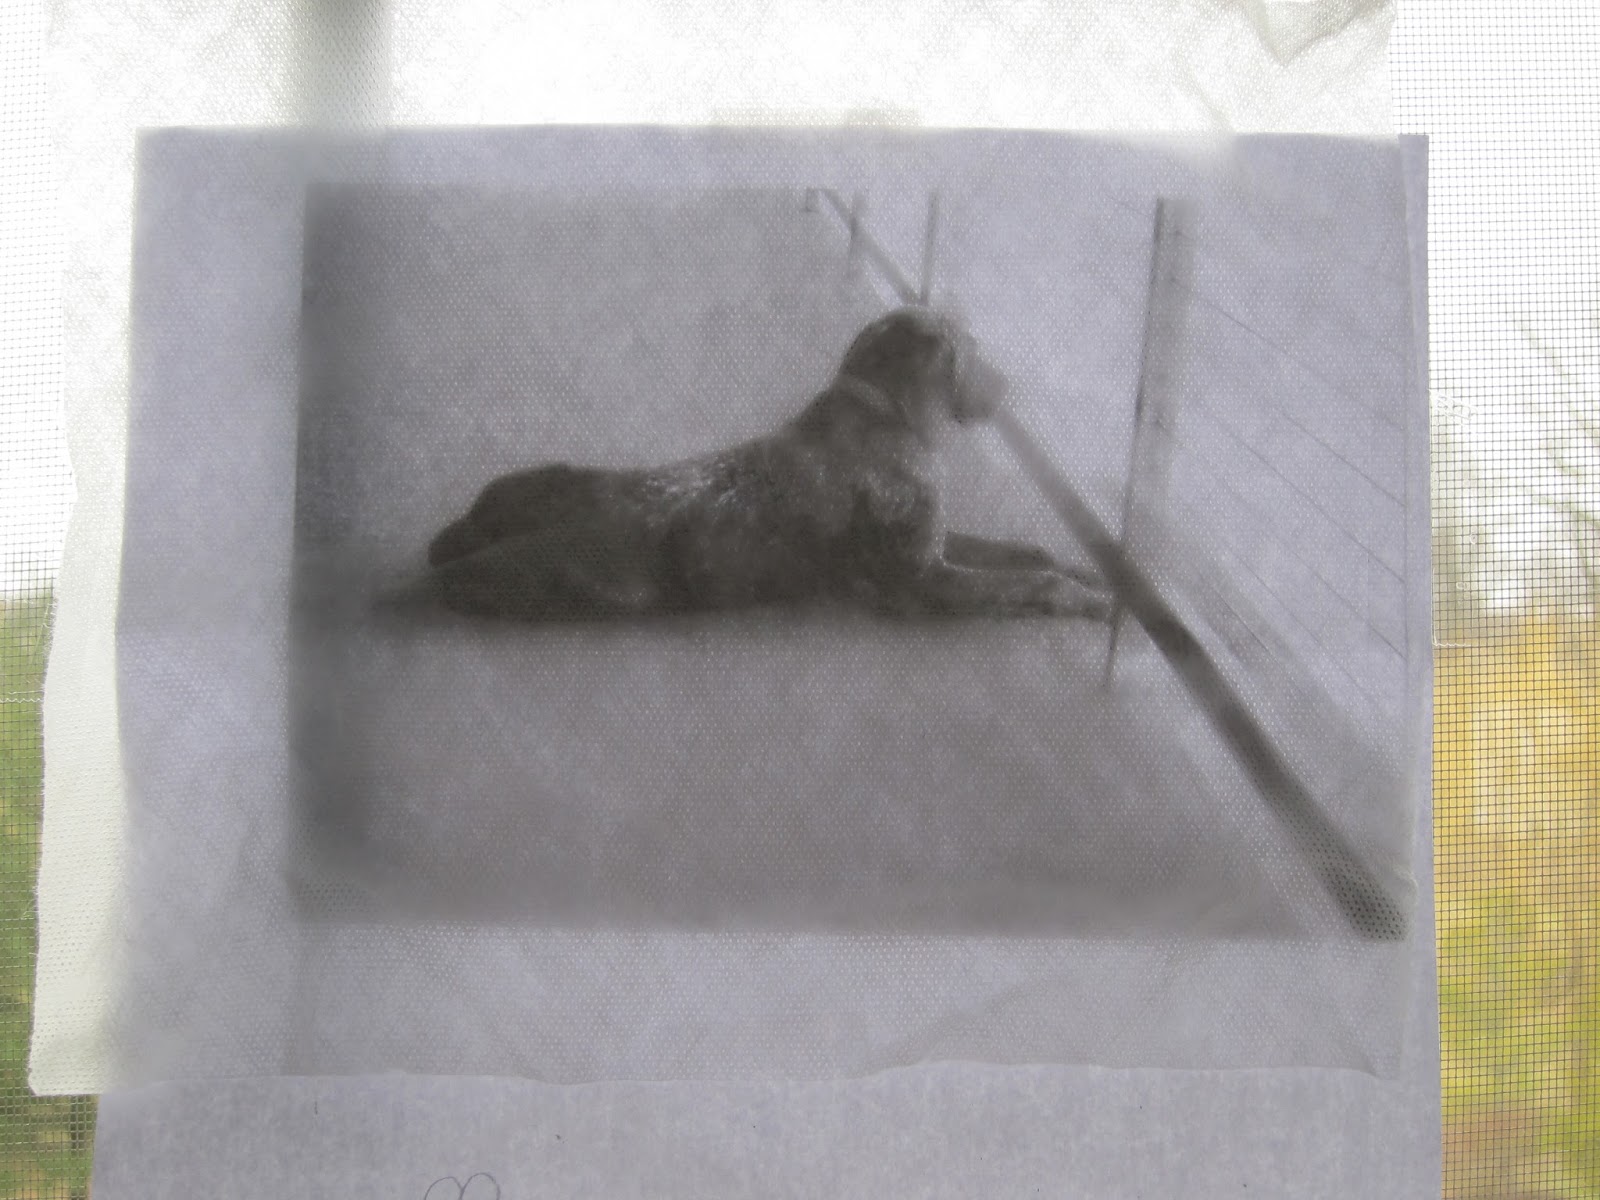
In this project I am using a fibrous water soluble product called Wash-n-Gone 541 by Pellon. If like me you don not own a light box then, tape the image you would like to use on a window. Next tape the stabilizer over the image and trace.
I use a pilot Frixion ball pen or pencil. Don't use a marker as it can bleed when you rinse the stabilizer off and ruin your work.
 
Once you have traced the image onto the stabilizer baste it onto the right side of your fabric. I also fuse SF101 onto the wrong side of my fabric prior to basting the stabilizer


Stitch the design
Attach the darning foot to your machine, lower the feed dogs and stitch over the drawn image. I go over the image a few times to give it a bolder look. For this project I am using a grey all purpose thread.
 
Once I have finished stitching I pull the thread ends to the wrong side of my fabric and trim them. Next I carefully trim away the excess stabilizer and remove the baste stitching.
Finally I rinse the fabric in water to dissolve the remaining stabilizer and hang to dry. When dry I press the fabric and continue with my project.


Friday, September 23, 2016

Gathers

Recently I have been thinking about using gathers to add interest to my work. When fabric is gathered it creates folds on the fabric surface. The folds (or hills and valleys) create light and dark areas on plain fabric which add subtle visual interest. On printed fabric the gathers alter the look by hiding tiny sections of the print.
To gather fabric start with a piece of fabric at least twice the length of your finished project. Gathers reduce the length of fabric.
Results of the different gathering methods. For the first 3 samples I started with a 10 in strip and gathered it up to 5 inches. From the top hand gathers, straight stitch machine gather, zigzag stitch machine gather and gathering foot with un-gathered top piece.

Basic ways to Gather
By hand- sew a running stitch on the section you wish to gather, pull the thread to create the desired fullness. Tie off thread ends to hold gathers. Hand gathering works best on small projects.
Machine Gathers- use an all purpose presser foot. Set stitch length to longest stitch. Sew a straight row of stitching on the section to be gathered. Leave thread tails long. Do not back stitch. Pull bobbin thread only to create folds.
Alternatively you can use a zigzag stitch and cord. Place the cord along the section to be gathered and centred under the presser foot. Stay stitch the cord at one end then zigzag stitch down the cord length, encasing it in the stitches but not catching the cord. Pull cord to form gathers.
Gathering foot
Gathering foot- a small and easy to use foot. The gathering foot automatically gathers the fabric as you sew. Select the longest straight stitch setting, place the fabric under the presser foot and sew. That's it, fabric will be gathered evenly. The gathering foot can also be used to gather fabric and attach it to a second piece of un-gathered fabric. Simply place the fabric you do not wish to gather in the slot between the top and bottom of the foot. The challenge here is making sure both fabrics are kept straight. Also for a tighter gather place a finger behind the presser foot. This slows the fabric movement and creates more gathers. A ruffle foot is another attachment that automatically gathers fabric.
Finally other ways to gather fabric are by using elastic and gathering tape. Gathering tape is used in curtain making.

Wednesday, August 3, 2016

Red, White and Black Pincushion

Red, white and black the perfect colour combination!
 
This little pincushion is made from two 5'' squares in different prints and the half -square triangle (HST) technique. A basic tutorial on HST's can be found here.

Thursday, May 19, 2016

Machine Stitched -Hems

left to right
Single fold hem-Double Fold hem-Narrow Rolled hem-Blind hem

A look at 4 ways to finish a hem using your sewing machine.
Single Fold Hem- this is a basic hem. Simply pink or zigzag along the raw edge to stop it from fraying. Next turn the edge over once towards the wrong side, press and stitch into place using a straight stitch or decorative stitch and a all purpose foot.
Double Fold Hem- As the name suggest you fold the fabric twice towards the wrong side. The first turn is to hide the raw edge. Press after each turn and stitch in place after the second turn. To achieve a neat finish stitch slowly from the wrong side. Follow the folded edge.
Narrow Rolled Hemming Foot- This foot is designed to stitch a neat and  narrow double hem. The fabric is folded and stitched as it passes  through the coils in the front of the foot. On the underside of the foot is a small channel that allows the rolled hem to pass freely. To use a rolled hemmer foot, attach to machine, place the fabric wrong side up. Pull the hem allowance over the coils and slightly to the left. Stitch slowly, occasionally check that the fabric raw edge is rolling into the hem and is not exposed. Practice on scrap fabric first. The narrow hemmer foot is ideal for lightweight fabric. I have used a quilting cotton in my sample above.
Blind Hem Foot- This foot is used with a blind hem stitch to stitch an almost invisible hem. My machine has a stitch setting for firm fabric, the stitch is a row of straight stitches followed with one zigzag stitch, and a stitch setting for stretch fabric, the stitch is a row of short zigzags followed by a wider zig zag.  My blind hem foot pictured below is adjustable. This foot has a protruding guide that helps stitch in a straight line. To use the blind hem foot, fold raw edge of hem to the wrong side of fabric and press. Fold hem under garment with only a 1/4'' of hem showing on the right. The garment should be resting on the left. Stitch slowly on the exposed 1/4'', the protruding guide should but up against the top fold, make sure the zig zag stitch catches the top fold. When fished unfold fabric, on the right side there will be a row of evenly spaced stab stitches visible. Press to set the stitching.

left to right
All purpose foot-Narrow Rolled Hemmer foot-Blind Hem foot
 

Thursday, April 28, 2016

Freehand Machine Embroidery

 When you lower the feed dogs on your sewing machine you have the freedom to move the fabric in any direction you wish (left, right, forward and backwards). This is freehand machine embroidery.  I spent a little time today playing with this technique.
You need a darning foot, a embroidery hoop, to hold the fabric taut, thread and of course fabric to start.
To lower the feed dogs refer to your machine manual, on some machines you need to cover the feed dogs instead of lowering. I practiced on scrap fabric using a straight and zigzag stitch until I ran out of bobbin thread. I began with a small 5'' hoop but this was not big enough.On the red sample below I used a 12'' hoop this is a good size for my machine.The fabric is mounted on the hoop the opposite way to normal.
 The stitch length is determined by how fast you move the hoop. If you move the hoop slowly the stitches are short, quickly and the stitches are very long.
It's fun and easy to freehand machine embroider, try it.

Breaking the Pattern- Review

I was excited to see a new sewing book at my local library last week. Without much thought I checked it out. The book is 'Breaking ...